

 EN
EN ES
ES DE
DE FR
FR IT
IT NL
NL PL
PL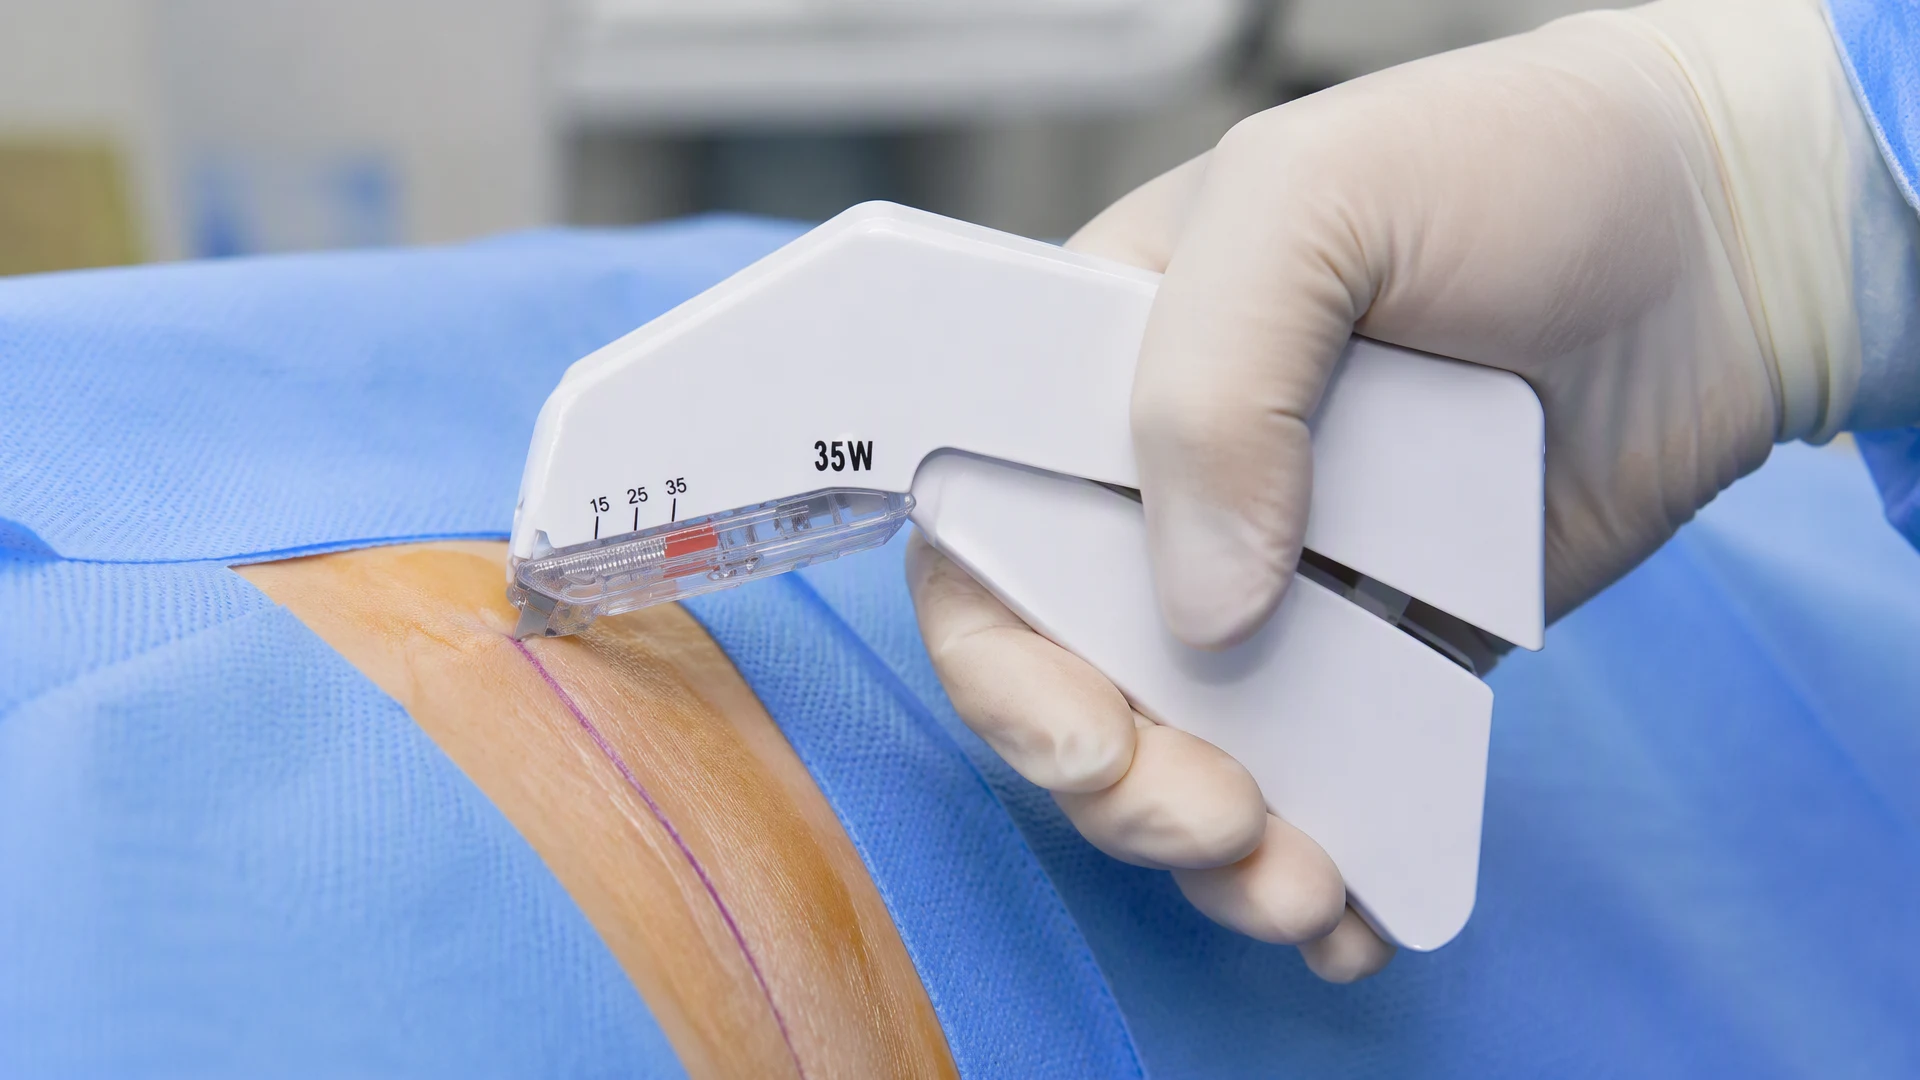
A skin stapler looks simple from the outside — squeeze the handle, hear a click, see a staple appear. What happens in that fraction of a second is a precise piece of mechanical engineering that has to do three things simultaneously: pierce two layers of tissue, bend a straight wire into a closed shape, and apply even pressure without crushing the skin underneath. This article breaks down the mechanism itself, separate from the general pros-and-cons comparison most people are looking for when they search “skin stapler vs. sutures.”
The Four-Step Mechanical Sequence
Every disposable skin stapler, including the 35W Medical Skin Stapler, performs the same four-step sequence each time the trigger is squeezed. Understanding the sequence explains why technique matters as much as the device itself.
- Alignment: The clinician brings the two wound edges together by hand or with forceps, positioning the stapler’s jaws so the crown of the staple sits centered over the closure line.
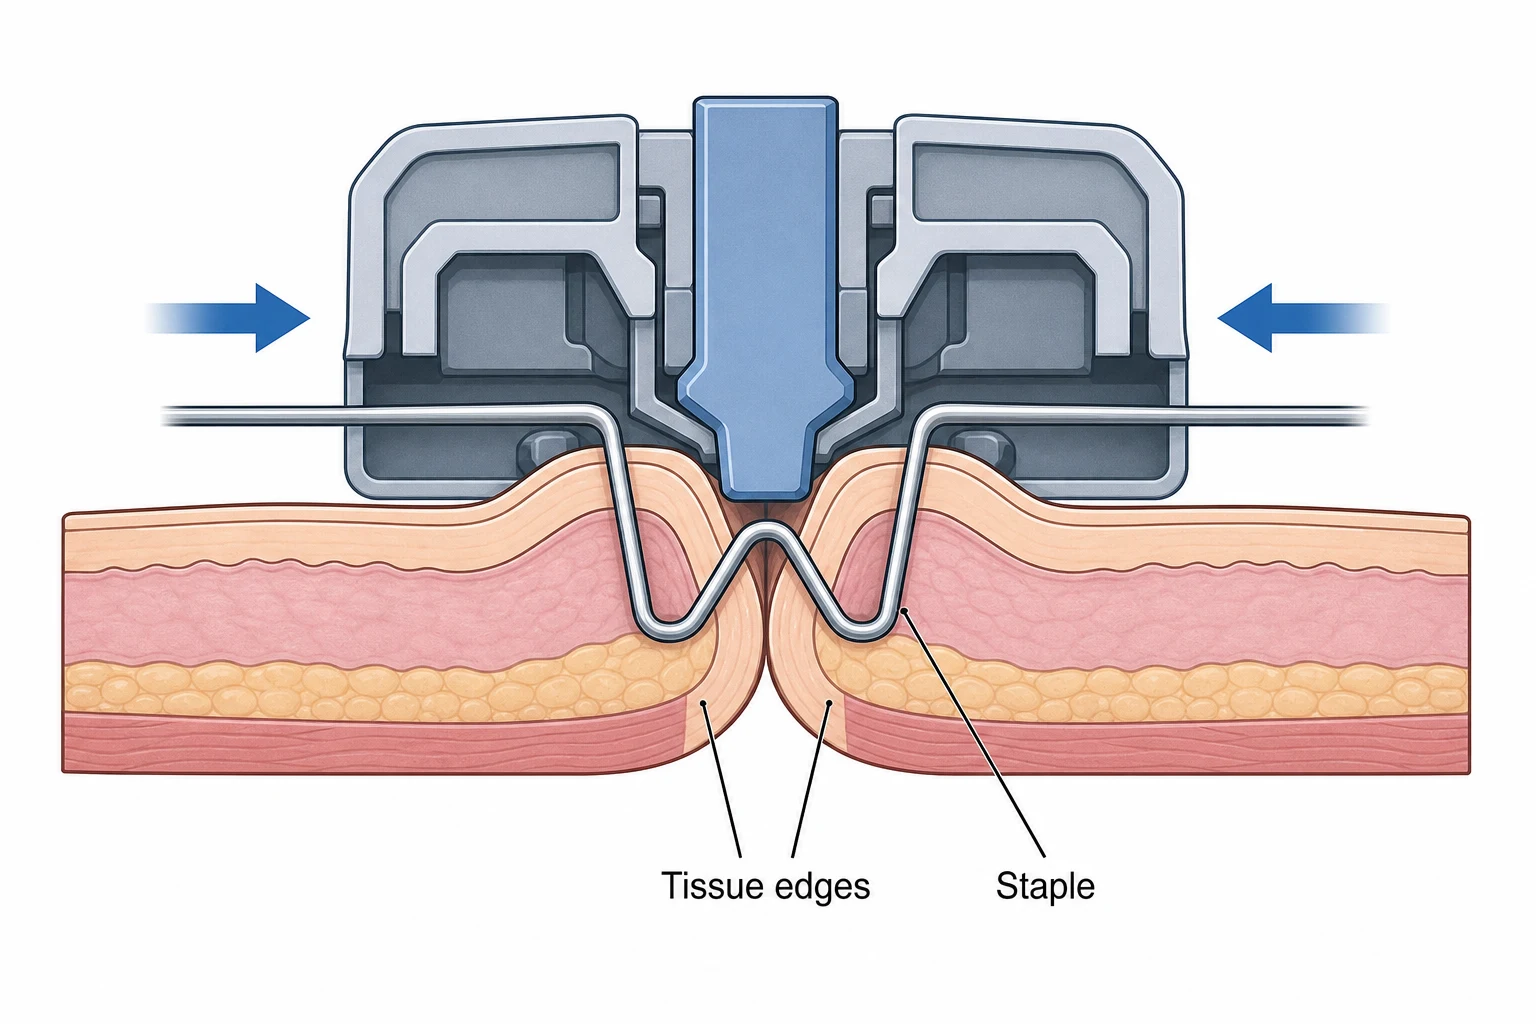
- Penetration: Squeezing the trigger drives the straight wire staple down through the epidermis and dermis on both sides of the wound simultaneously.
- Forming: An anvil inside the stapler head bends the two legs of the staple inward as they exit the tissue, curling them into a closed rectangular or W-shaped loop.
- Release: The jaws open and the stapler advances to the next preloaded staple, ready for the next placement along the wound line.
Each of those four steps happens in roughly a second, which is part of what makes stapling faster than suturing in practice. But speed is a byproduct of the mechanism, not the goal of it — the anvil-and-crown design exists to produce a consistent, repeatable closure shape regardless of who is operating the device or how many staples they’ve already placed that shift.
Why the Staple Holds: Tension Distribution
A properly formed staple doesn’t rely on friction or adhesive — it relies on geometry. Once the two legs curl inward, the staple becomes a closed loop that physically cannot pull back through the tissue the way a straight pin could. The wound edges are held together by the staple’s shape, not by how hard it was squeezed.
This is also why staple spacing matters. Each staple only bears the tension in its immediate section of the wound. Placing staples too far apart leaves gaps where tension concentrates on the skin itself rather than being distributed across multiple closure points, which is a common cause of wound edges separating between staples.
What “35W” Tells You About the Mechanism
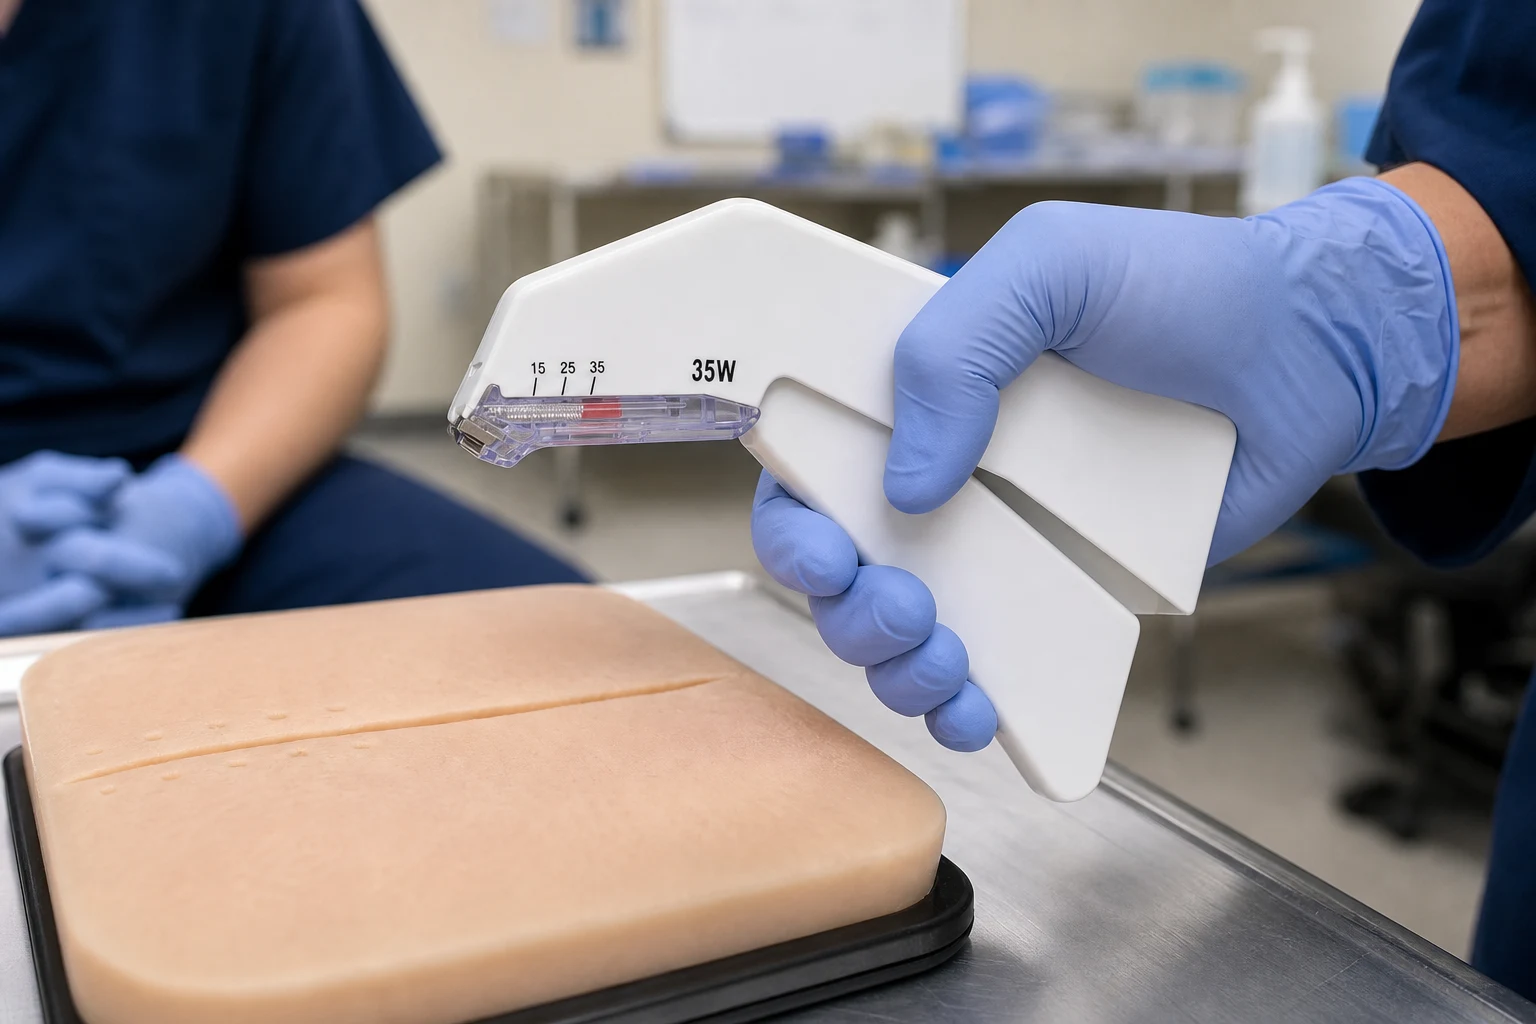
The 35W designation isn’t marketing shorthand — it describes the wire gauge and crown width that determine how much tissue the staple can bridge. A wider crown spans a thicker fold of skin; a narrower one is suited to thinner tissue. The 0.60 mm wire diameter used in the 35W series balances two competing needs: thin enough to penetrate skin without excessive force, thick enough that the formed loop keeps its shape under normal wound tension.
This is also why not every stapler works for every wound. A device calibrated for thin skin would under-penetrate a thicker fold; one calibrated for thick tissue could over-penetrate thin skin and cause more trauma than necessary. The 35W class is calibrated for general-purpose skin closure across most body regions.
Common Mechanical Failure Points
Three things can go wrong mechanically, and all three are technique issues rather than device defects. Incomplete trigger compression leaves a staple half-formed, with legs that never fully curl — this is why training programs emphasize a full, deliberate squeeze rather than a quick tap. Misalignment at the moment of firing places the staple crown off-center from the wound line, pulling one edge more than the other. And firing too close to a previous staple can cause tissue tearing rather than a clean second closure point, since skin needs enough intact area between staples to hold each one independently.
None of these are failures of the stapler itself — a preloaded, factory-calibrated device performs the same mechanical action every time it’s triggered correctly. That consistency is precisely why staplers are taught early in clinical skills training: the mechanism removes variability, so what’s left to learn is positioning and timing.
Mechanism vs. Removal: A Different Motion Entirely
It’s worth noting that removing a staple is a completely different mechanical action from placing one — a dedicated remover works by sliding a flat tip under the staple’s crown and squeezing to straighten the two legs back out, reversing the forming step rather than cutting or pulling the staple free. That’s a separate device and a separate skill from the stapler itself; attempting removal with the wrong tool, or with fingers, risks tearing the healing skin.
The reversal only works cleanly if the staple was fully formed in the first place. A half-formed staple — one where the trigger wasn’t squeezed all the way — can present an irregular shape to the remover’s jaws, making it harder to get a clean release and more likely that the clinician has to apply extra force. This is one more reason the placement step and the removal step aren’t independent of each other: good technique at placement makes removal predictable later.
What This Means for Training and Technique
Clinical training programs teach the mechanism before they teach wound selection, and that ordering isn’t an accident. A trainee who understands that the staple holds through geometry, not pressure, stops trying to compensate for a weak closure by squeezing harder. Instead, they learn to recognize when a staple has fully formed by sound and resistance — a complete squeeze produces a distinct click as the anvil finishes curling the legs, and a device that doesn’t click that way on a given attempt usually means the trigger wasn’t compressed fully.
This also explains why preloaded, single-use staplers are preferred over any reusable alternative for training. Because the mechanical tolerances are fixed at the factory, a trainee’s results depend entirely on their technique rather than on variability introduced by a worn or re-sterilized instrument. Mistakes are therefore diagnosable: if a staple formed incorrectly, the cause is almost always positioning or incomplete compression, not the device.
Perguntas frequentes
Does a skin stapler need to be reloaded between uses?
No. A disposable skin stapler like the 35W series is preloaded with a fixed number of staples at the factory and discarded once they’re used. There is no reloading step, which removes a common source of mechanical error.
Why does staple spacing matter mechanically?
Each staple only bears the wound tension in its immediate section. Spacing them appropriately distributes tension evenly across the closure line; gaps that are too wide concentrate stress on unsupported skin between staples.
What determines whether a staple holds correctly?
A fully formed staple — one where the trigger was compressed completely so both legs curled into a closed loop — holds through geometry alone, not adhesive or friction. Incomplete compression is the most common cause of a staple that doesn’t hold.
Related Reading
For a full breakdown of the 35W stapler’s specifications and when to choose it over the veterinary-labeled variant, see our complete product guide. For general background on staples versus sutures across all surgical contexts, see our guia sobre grampos cirúrgicos.