Table of Contents
Introduction
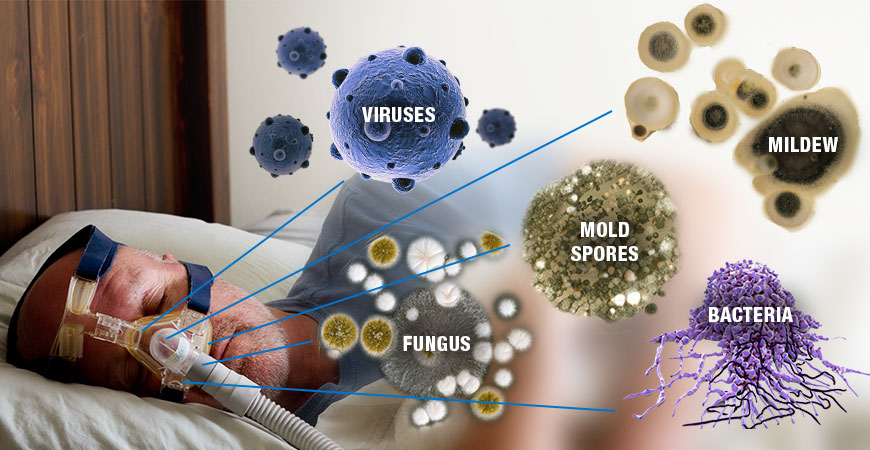
A CPAP machine and its components are crucial for individuals with sleep apnea to ensure a good and safe night’s rest. However, to function effectively, proper maintenance and CPAP machine cleaning are essential. Moisture can build up inside the mask, tubing, and the device itself, creating an environment where bacteria, mold, and mildew can thrive. Regular CPAP machine cleaning is vital to prevent these issues and maintain optimal performance. Continue reading to discover the various types of CPAP cleaners, along with their advantages and disadvantages.
Understanding CPAP Machines
What is a CPAP Machine?
A CPAP (continuous positive airway pressure) machine helps treat sleep apnea. This device delivers continuous air through your mouth and/or nose to help keep your airways open while you sleep. A CPAP machine includes: A mask that fits over just your nose or both your nose and mouth. Straps to position the mask on your face. A tube that connects the mask to the machine’s motor. A motor that blows air into the tube. An air filter that purifies the air entering your nose or mouth. Some CPAP machines have other features as well, like heated humidifiers and adjustable pressure settings.
Please refer to the following link for details.
Importance of Cleaning CPAP Machines
If you are frequently sick or experience any of the following symptoms a dirty CPAP machine could be the problem. Regular CPAP machine cleaning helps prevent:
-
- Congestion
- Runny nose
- Sinus infections
- Sneezing
- Sore throat
- Skin irritation
- Airway/lung irritation
- Respiratory infection
Daily CPAP machine cleaning of supplies is important in keeping your airway open while you sleep by maintaining a good seal between your face and the mask. If your cushion starts to lose that grip to your face, your mask will start to allow the airflow from the device to leak out. When you lose too much airflow out of the sides of your mask, you no longer have an adequate seal that allows your airway to remain open. This could lead to you stopping breathing, and defeat of the purpose of using the mask and device.
Common CPAP Machine Cleaning Methods
Here are the most commonly used methods for CPAP machine cleaning, each with its own advantages and limitations:
Manual Cleaning
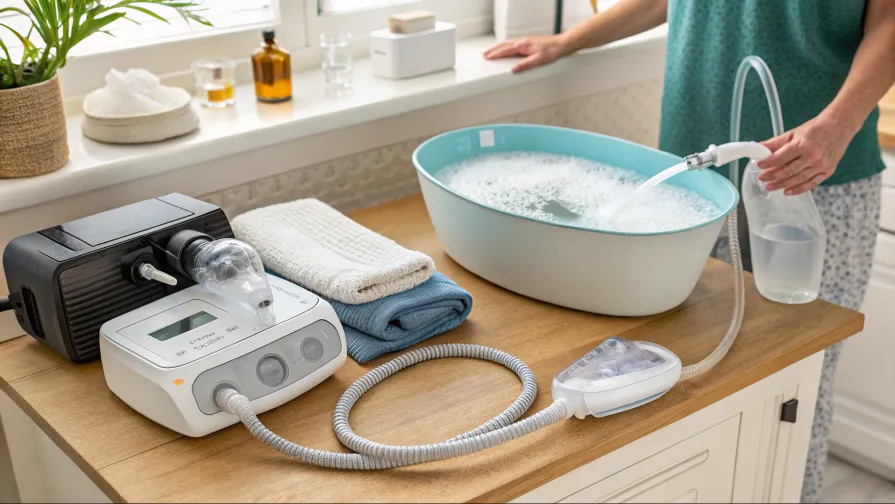
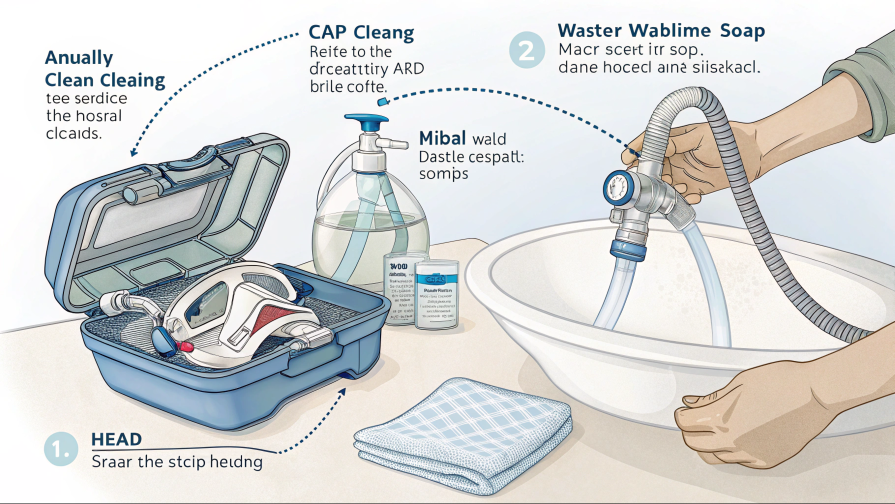
This method involves disassembling the CPAP components, such as the mask, tubing, and water chamber, and washing them by hand with warm water and mild soap.
1. Disassemble the Equipment: Unplug the CPAP machine and disconnect the mask, tubing, and water chamber.
2. Clean the Mask and Headgear: Wash the mask and headgear weekly using warm, soapy water. Gently scrub to remove oils and residues, then rinse thoroughly and allow them to air dry away from direct sunlight.
3. Clean the Tubing: Wash the tubing weekly with warm, soapy water. Soak for 30-60 minutes, rinse well, and hang to dry out of direct sunlight.
4. Clean the Water Chamber: Empty any remaining water daily. Weekly, remove the chamber from the CPAP machine, wash it in warm, soapy water, rinse thoroughly, and allow it to air dry away from direct sunlight.
5. Drying: Ensure all components are completely dry before reassembling to prevent mold and bacteria growth.
Automated CPAP Cleaners
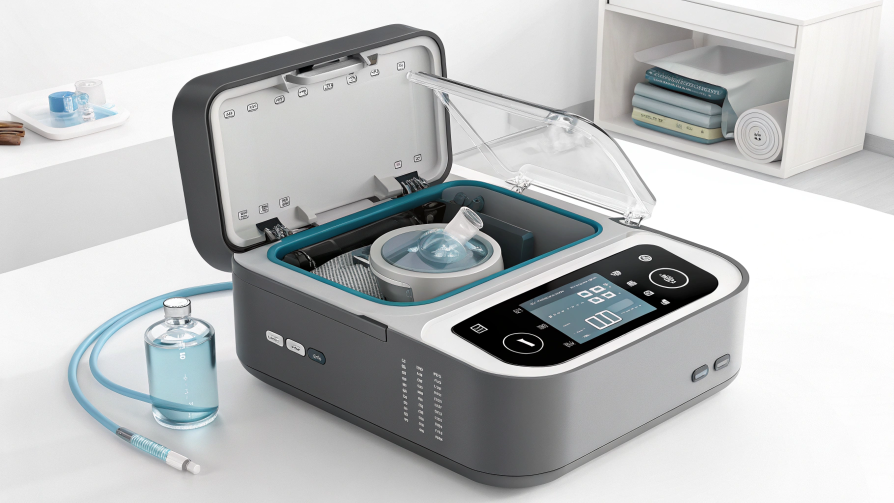
Automated CPAP cleaners utilize advanced technologies, such as ozone (activated oxygen) or ultraviolet (UV) light, to automatically clean and disinfect CPAP equipment components.
1. Disassemble the Equipment: Unplug the CPAP machine and disconnect the mask, tubing, and water chamber.
2. Connect the Cleaner: Attach the automated cleaner’s hose to the CPAP machine’s air outlet.
3. Initiate the Cleaning Cycle: Select the appropriate cleaning mode on the cleaner and start the process.
4. Wait for Completion: The cleaner will automatically complete the cleaning and disinfection cycle, typically taking 30 minutes to 1 hour.
5. Disassemble and Dry: After cleaning, disconnect the cleaner from the CPAP machine. Place the CPAP components in a well-ventilated area to ensure they dry completely before reassembling.
Vinegar Solution
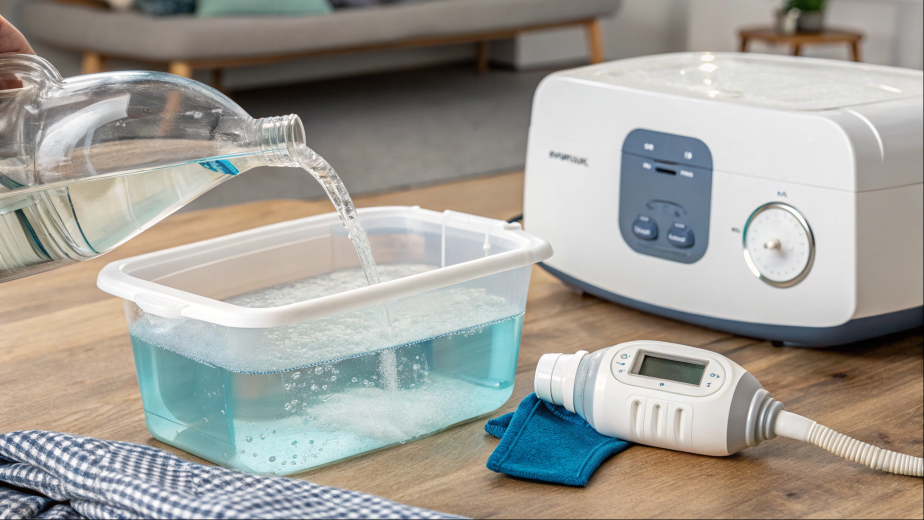
Using a vinegar solution to clean your CPAP machine is an effective and economical method, especially for removing scale and deposits in the water tank.
Cleaning steps:
1. Prepare the solution: Mix 1 part white vinegar with 10 parts water to make a cleaning solution.
2. Clean the water tank: Fill the cleaning plug with the vinegar solution and pour it into the empty water tank. Then add clean water until it reaches the maximum water level mark. Let the solution soak for about 10 minutes. After that, discard the solution and rinse the water tank thoroughly with clean water.
3. Clean the mask and pipes: Use a mild neutral detergent and warm water to clean the mask and pipes. Avoid using solutions containing ingredients such as vinegar, bleach, alcohol, fragrances, moisturizers, antibacterial agents, and fragrant oils, which may damage the device and shorten its service life.
4. Drying: After cleaning, place all parts in a cool and ventilated place to dry, avoiding direct sunlight. Make sure they are completely dry before reassembling.
Disinfectant Wipes
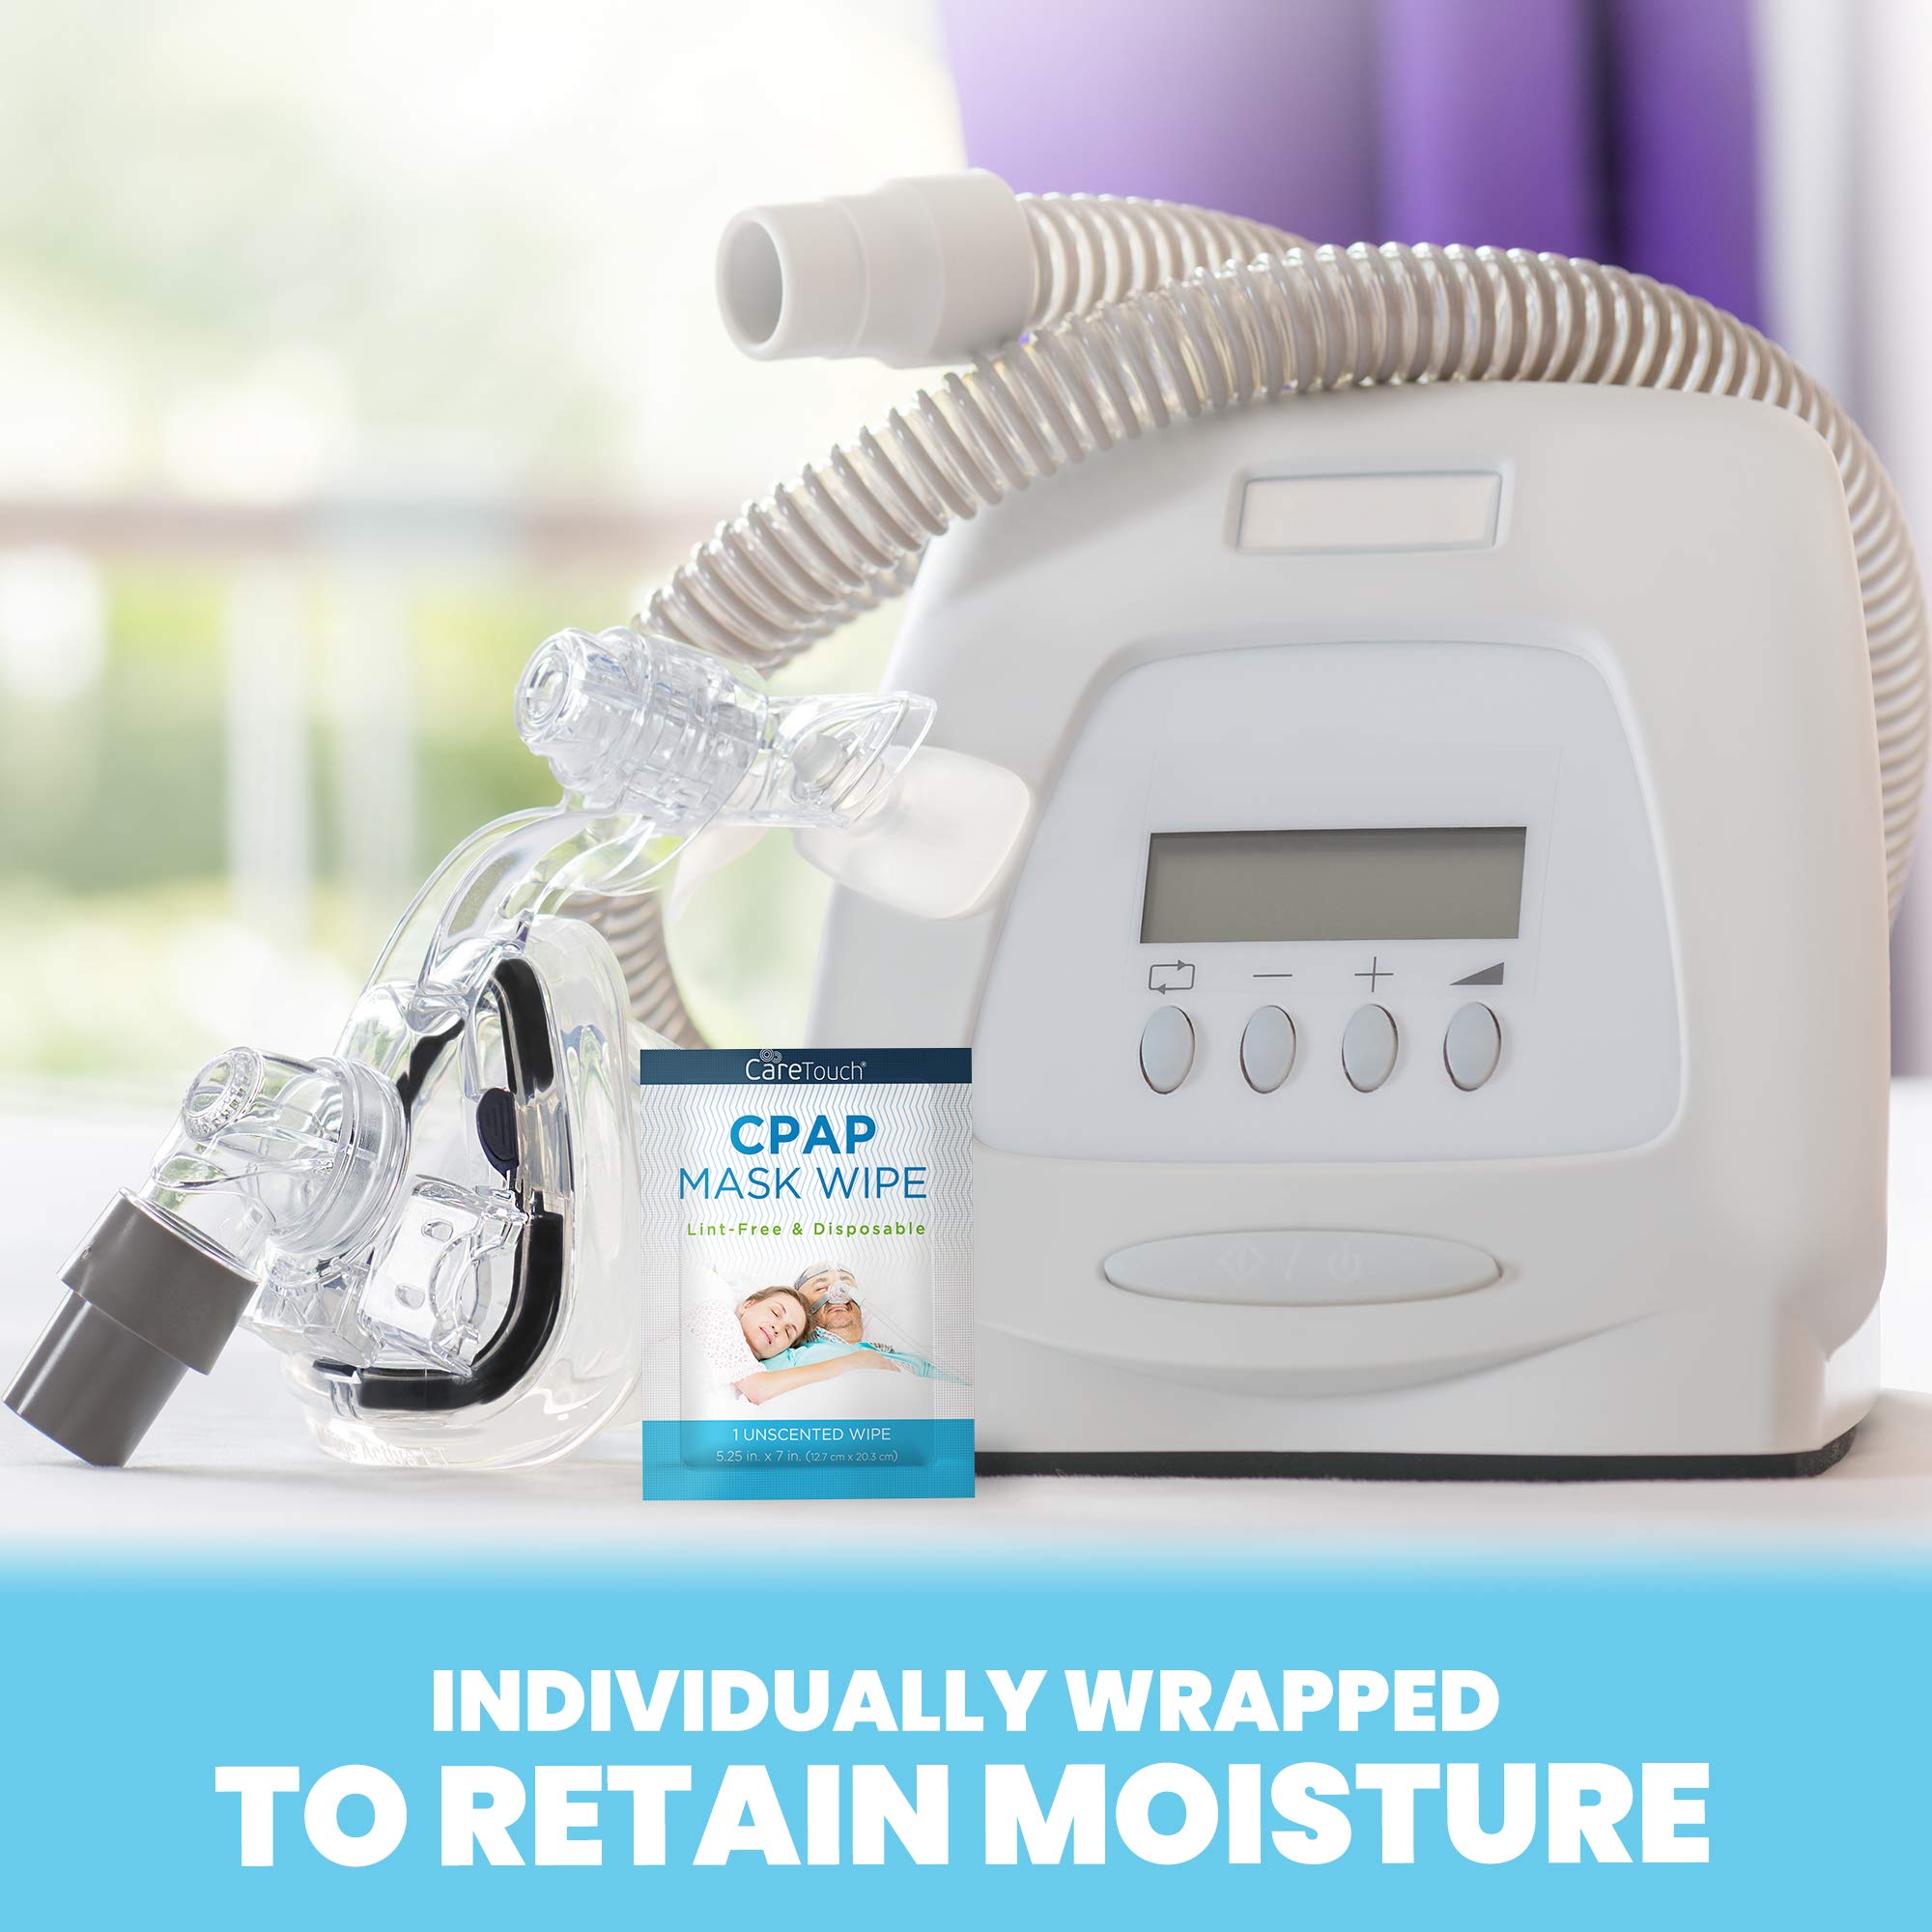
Using disinfectant wipes to clean your CPAP machine is a convenient and effective method for daily CPAP machine cleaning maintenance. Here’s how to do it:
Materials Needed:
CPAP-specific disinfectant wipes (ensure they are alcohol-free and suitable for medical equipment)
Clean, dry towels or paper towels
Cleaning Steps:
1. Prepare the Equipment:
Unplug the CPAP machine from the electrical outlet.
Remove the mask, headgear, and tubing from the machine.
2. Clean the Mask and Headgear:
Use a disinfectant wipe to gently clean the mask’s interior and exterior surfaces, focusing on areas that come into contact with your skin.
Wipe down the headgear straps to remove oils and residues.
3. Clean the Tubing:
While some users opt to wipe down the tubing, it’s generally recommended to wash it with warm, soapy water weekly to ensure thorough cleaning.
4.Dry the Components:
After cleaning, use a clean, dry towel or paper towel to gently dry the mask, headgear, and tubing.
Allow all components to air dry completely in a well-ventilated area, away from direct sunlight, before reassembling.
Additional Tips:
Avoid using wipes that contain alcohol, bleach, or fragrances, as these can damage the equipment and irritate your skin.
Regular cleaning helps maintain the hygiene of your CPAP equipment and can prevent skin irritation and unpleasant odors.
For a comprehensive cleaning routine, refer to the manufacturer’s guidelines, which may include weekly washing of the tubing and humidifier chamber with warm, soapy water.
Pros and Cons of CPAP Machine Cleaning Methods
Maintaining the cleanliness of your CPAP (Continuous Positive Airway Pressure) machine is essential for effective therapy and health. Here’s a comparison of various CPAP machine cleaning methods, highlighting their pros and cons:
| Cleaning Method | Pros | Cons |
|---|---|---|
| Manual Cleaning (Soap and Water) | – Effectiveness: Thoroughly removes dirt, oils, and some microbes when done properly. – Cost-Effective: Utilizes readily available household items, eliminating the need for specialized equipment. – Safety: Avoids the use of potentially harmful chemicals or devices. |
– Time-Consuming: Requires daily or regular commitment to disassemble, wash, and dry components. – Incomplete Drying Risk: Improper drying can lead to moisture buildup, fostering mold or bacteria growth. |
| Automated CPAP Cleaners (Ozone or UV Devices) | – Convenience: Simplifies the cleaning process, often requiring minimal user intervention. – Time-Saving: Typically completes cleaning cycles faster than manual methods. |
– Effectiveness Concerns: The FDA has not approved these devices; their efficacy and safety are under scrutiny. – Potential Health Risks: Ozone-based cleaners may leave harmful residues or emit ozone gas, posing respiratory hazards. – Cost: Often involves a significant initial investment compared to manual cleaning supplies. – Material Compatibility: Prolonged use might degrade certain CPAP components; always consult manufacturer guidelines. |
| Vinegar Solution | – Disinfectant Properties: Vinegar’s acidity can help reduce mineral deposits and some bacteria. – Affordability: Inexpensive and easily accessible cleaning agent. |
– Odor: May leave a residual vinegar smell if not rinsed thoroughly. – Material Compatibility: Prolonged use might degrade certain CPAP components; always consult manufacturer guidelines. |
| Disinfectant Wipes | – Ease of Use: Quickly cleans surfaces without the need for water or drying time. – Portability: Ideal for travel or situations where traditional cleaning isn’t feasible. |
– Surface Cleaning Only: May not effectively clean internal components like tubing. – Chemical Residues: Some wipes may contain substances that could irritate the skin or damage equipment; ensure they are CPAP-compatible. |
By understanding these methods, you can choose the most suitable approach to maintain your CPAP equipment’s hygiene and functionality.
Best Practices for CPAP Machine Cleaning Maintenance
Maintaining your CPAP (Continuous Positive Airway Pressure) machine is essential for effective therapy and overall health. Here are best practices to ensure your equipment remains in optimal condition:
Regular Cleaning Schedule:
-
-
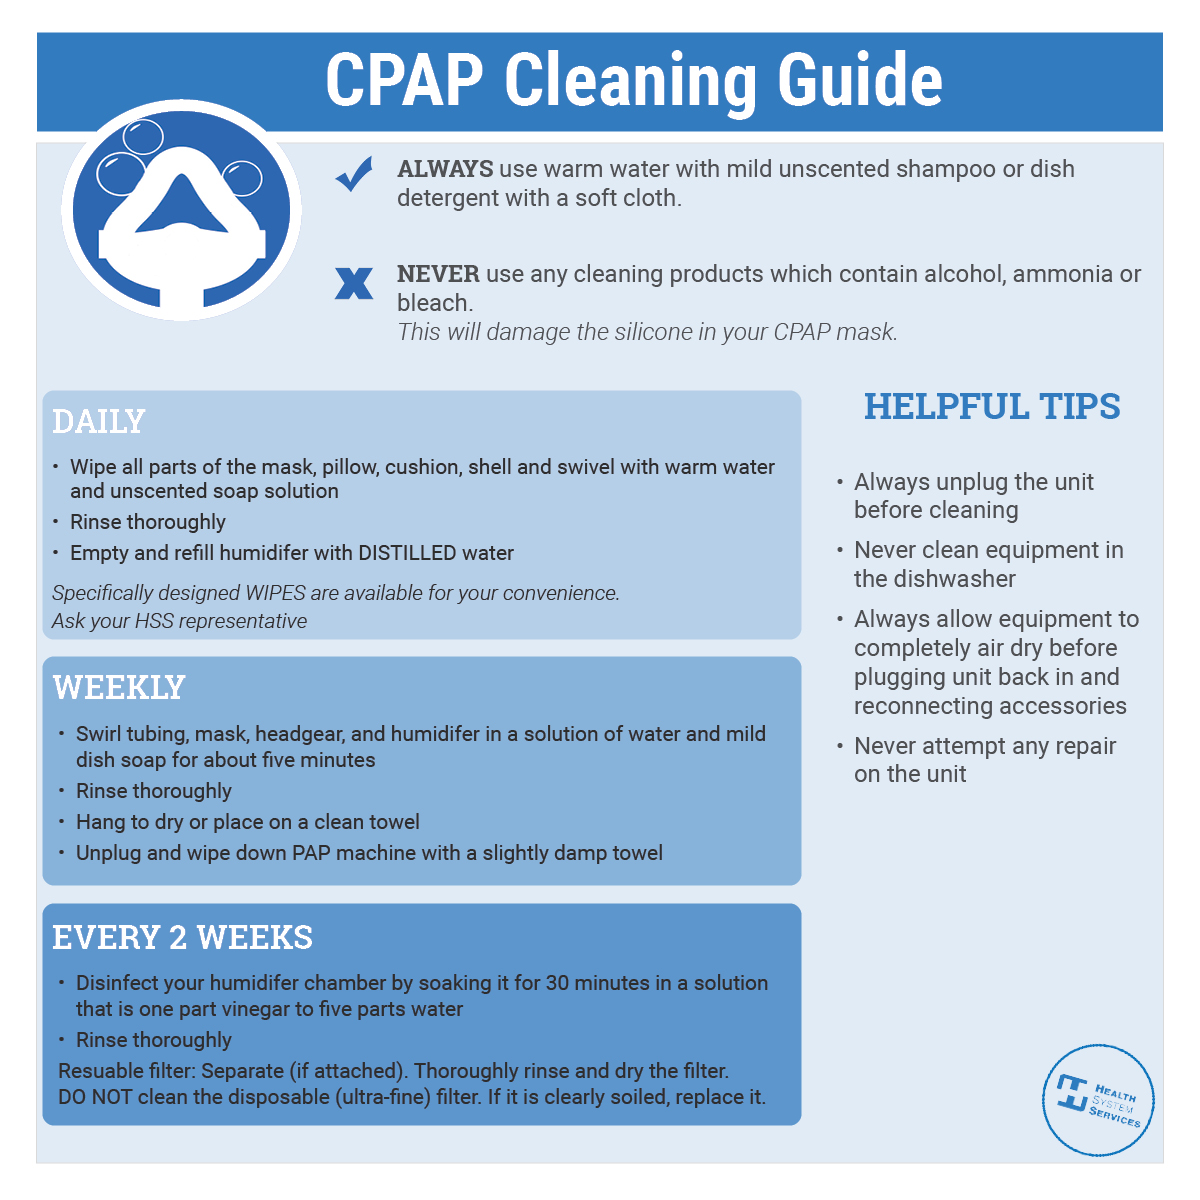
Daily Cleaning:
- Mask and Cushion: Clean with warm, soapy water to remove facial oils and prevent bacterial buildup.
- Humidifier Chamber: Empty any remaining water and rinse to prevent mold and mineral deposits.
-
Weekly Cleaning:
- Tubing: Soak in warm, soapy water for 30-60 minutes, then rinse thoroughly and hang to dry out of direct sunlight.
- Reusable Filters: Wash in warm, soapy water, rinse thoroughly, and allow to air dry completely before reinstalling.
-
Choosing the Right Cleaning Method:
-
-
Manual Cleaning:
- Supplies Needed: Mild unscented soap, warm water, and a soft, clean cloth.
- Procedure: Disassemble components, wash each part thoroughly, rinse, and allow to air dry completely before reassembly.
-
Automated Cleaners:
- Considerations: The FDA has not approved devices that use ozone or UV light for CPAP cleaning; their efficacy and safety are under scrutiny.
-
Monitoring Equipment Condition:
-
-
Regular Inspections:
- Mask and Headgear: Check for signs of wear, such as cracks or loss of elasticity, and replace every 6-12 months.
- Tubing: Inspect for discoloration, stiffness, or leaks, and replace every 1-2 years.
- Filters: Replace disposable filters monthly or as needed, and reusable filters every 6 months.
-
Replacement Schedule:
- Adhere to the manufacturer’s recommended replacement timeline for all components to ensure optimal performance.
-
By following these best practices, you can maintain the hygiene and functionality of your CPAP machine, ensuring effective therapy and promoting better health.
Conclusion
Regular CPAP machine cleaning is essential for effective sleep apnea therapy and overall health. By adhering to a consistent cleaning schedule and monitoring your equipment’s condition, you can ensure optimal performance and longevity. Prioritizing CPAP machine cleaning safeguards your health and enhances the benefits of your therapy.
For a practical demonstration on how to clean your CPAP machine, you may find the following video helpful:
Call to Action
Maintaining your CPAP machine is essential for effective therapy and overall health. To assist you in this process, here are some recommended CPAP cleaning supplies:

